amp template

My Xiaomi M365 Scooter

A collection of thoughts and adventures with the M365 scooter in New Zealand

Obiligatory intro with some stats and the NZ law.

Just like a bike, a scooter needs regular maintenance to keep it going and to keep you safe.

Not all gadgets are created equal. My ideas on what's worth it, and what's not.

The main upgrades one can consider: Firmware, Tires, Battery and more.

Some of the many helpful places one can find on the interweb with information about the M365.

Some ideas on where to buy authentic scooters and how to avoid fakes

The course chip roads are best avoided. Where else can one travel?

Worse than a selfie, everyone now has scooties.

Mobirise

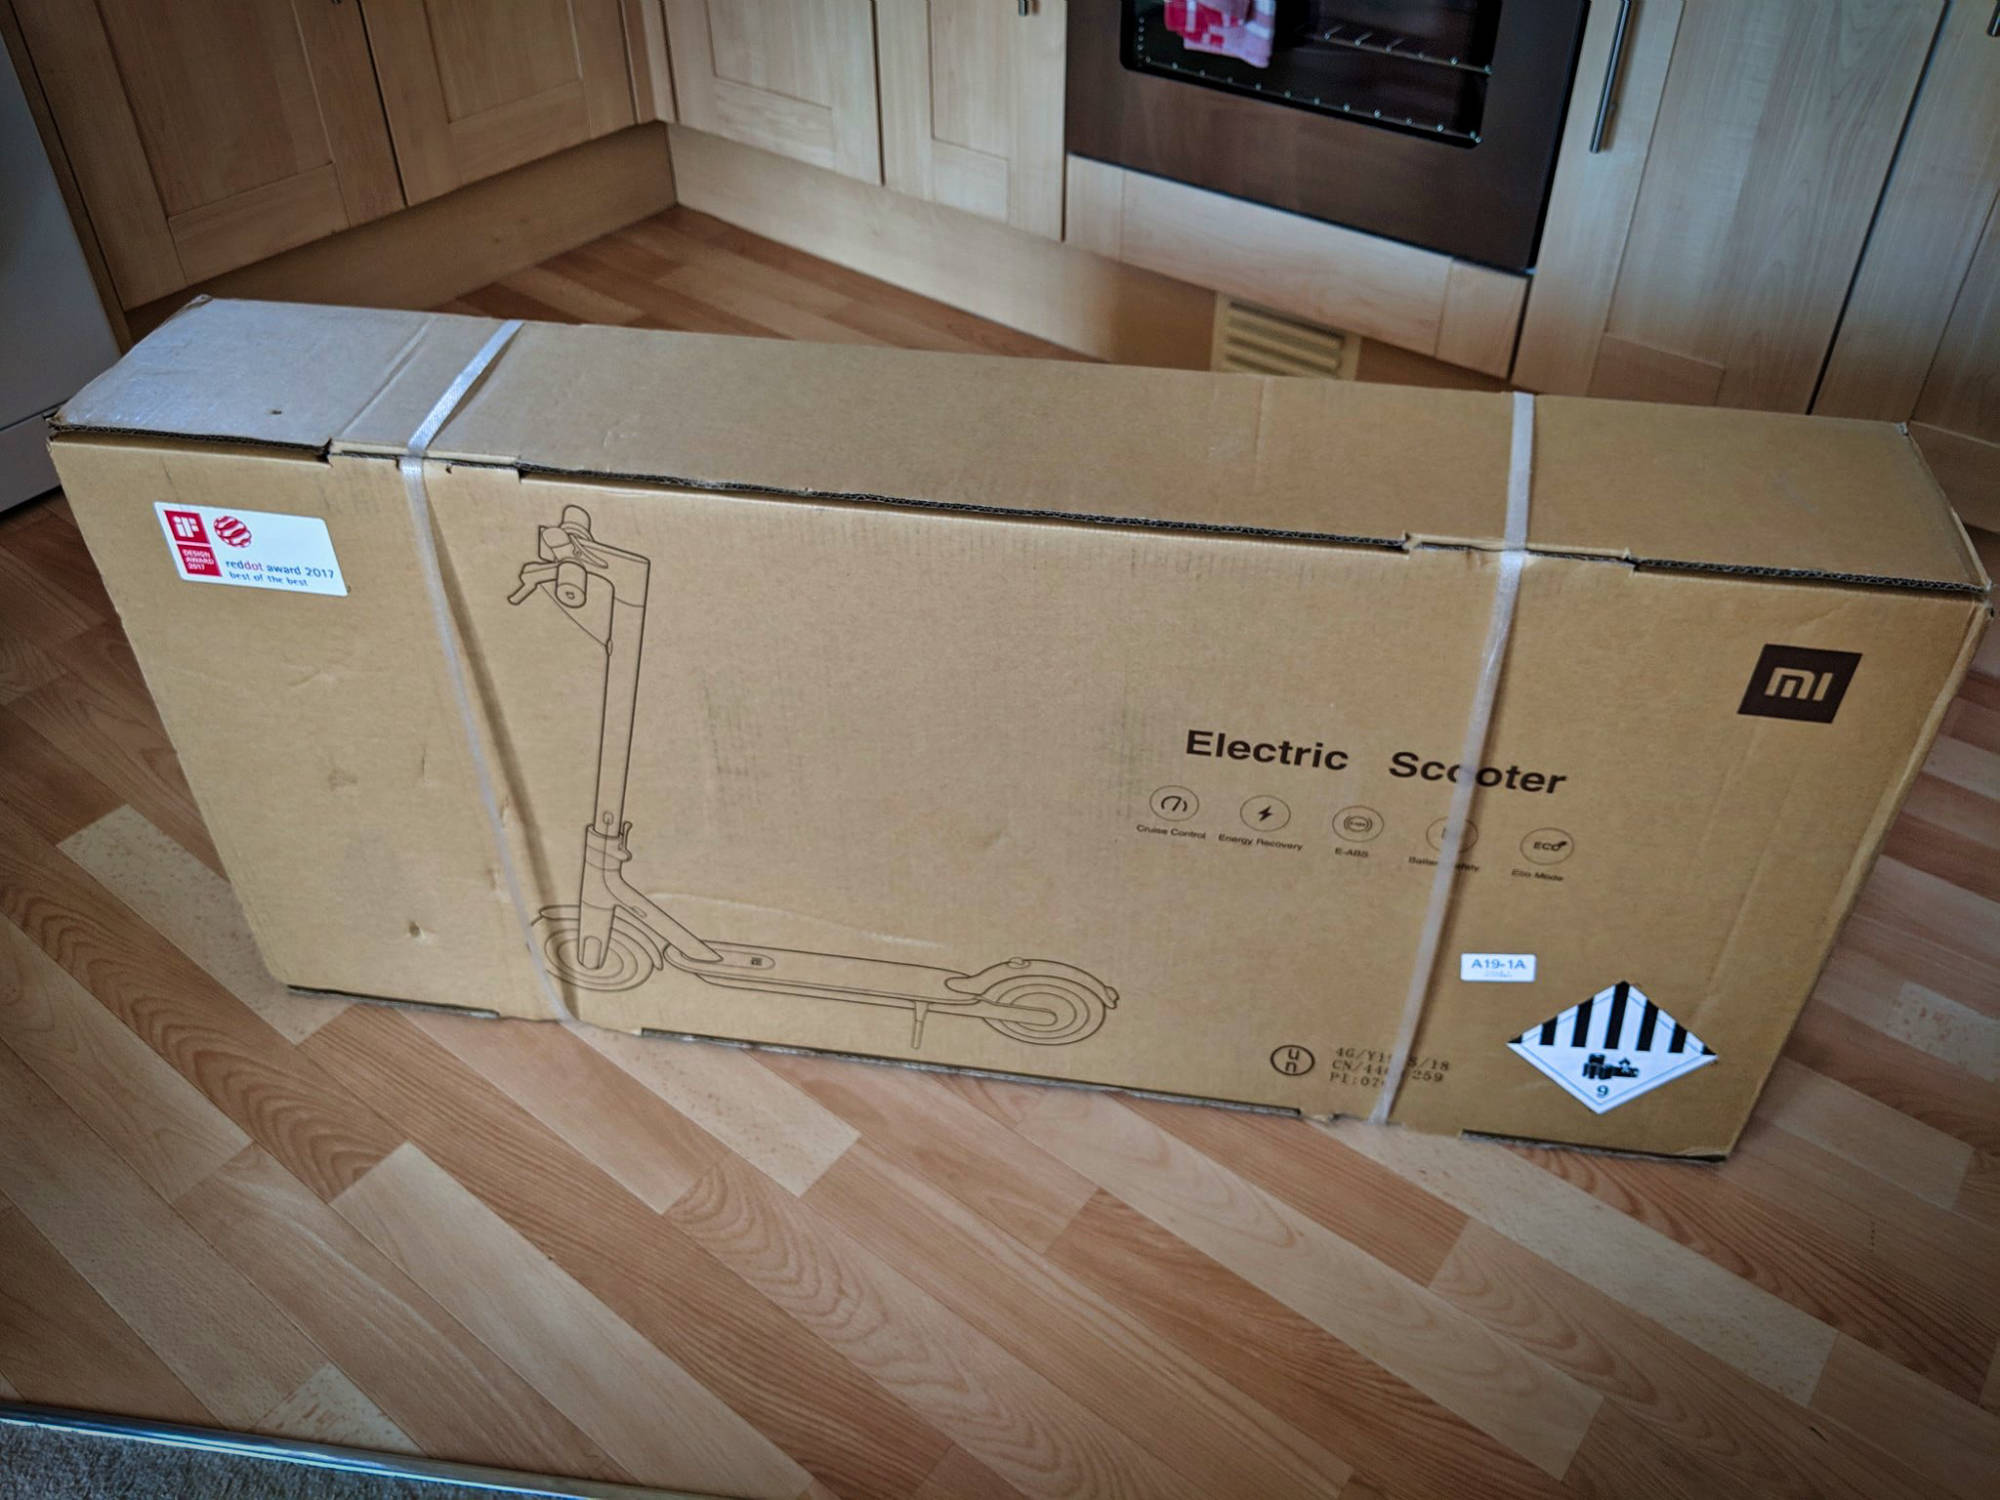
Introducing the M365

As of March 2019 the M365 is the most bang for buck scooter there is.

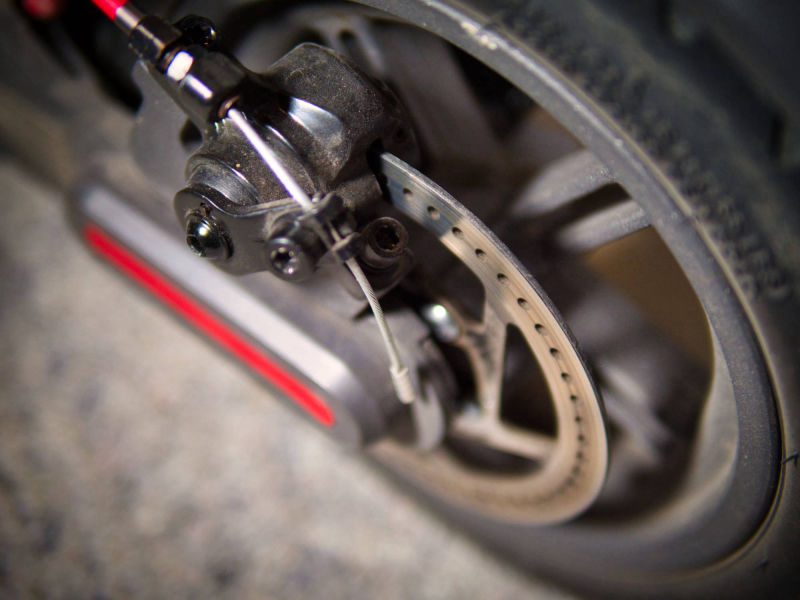
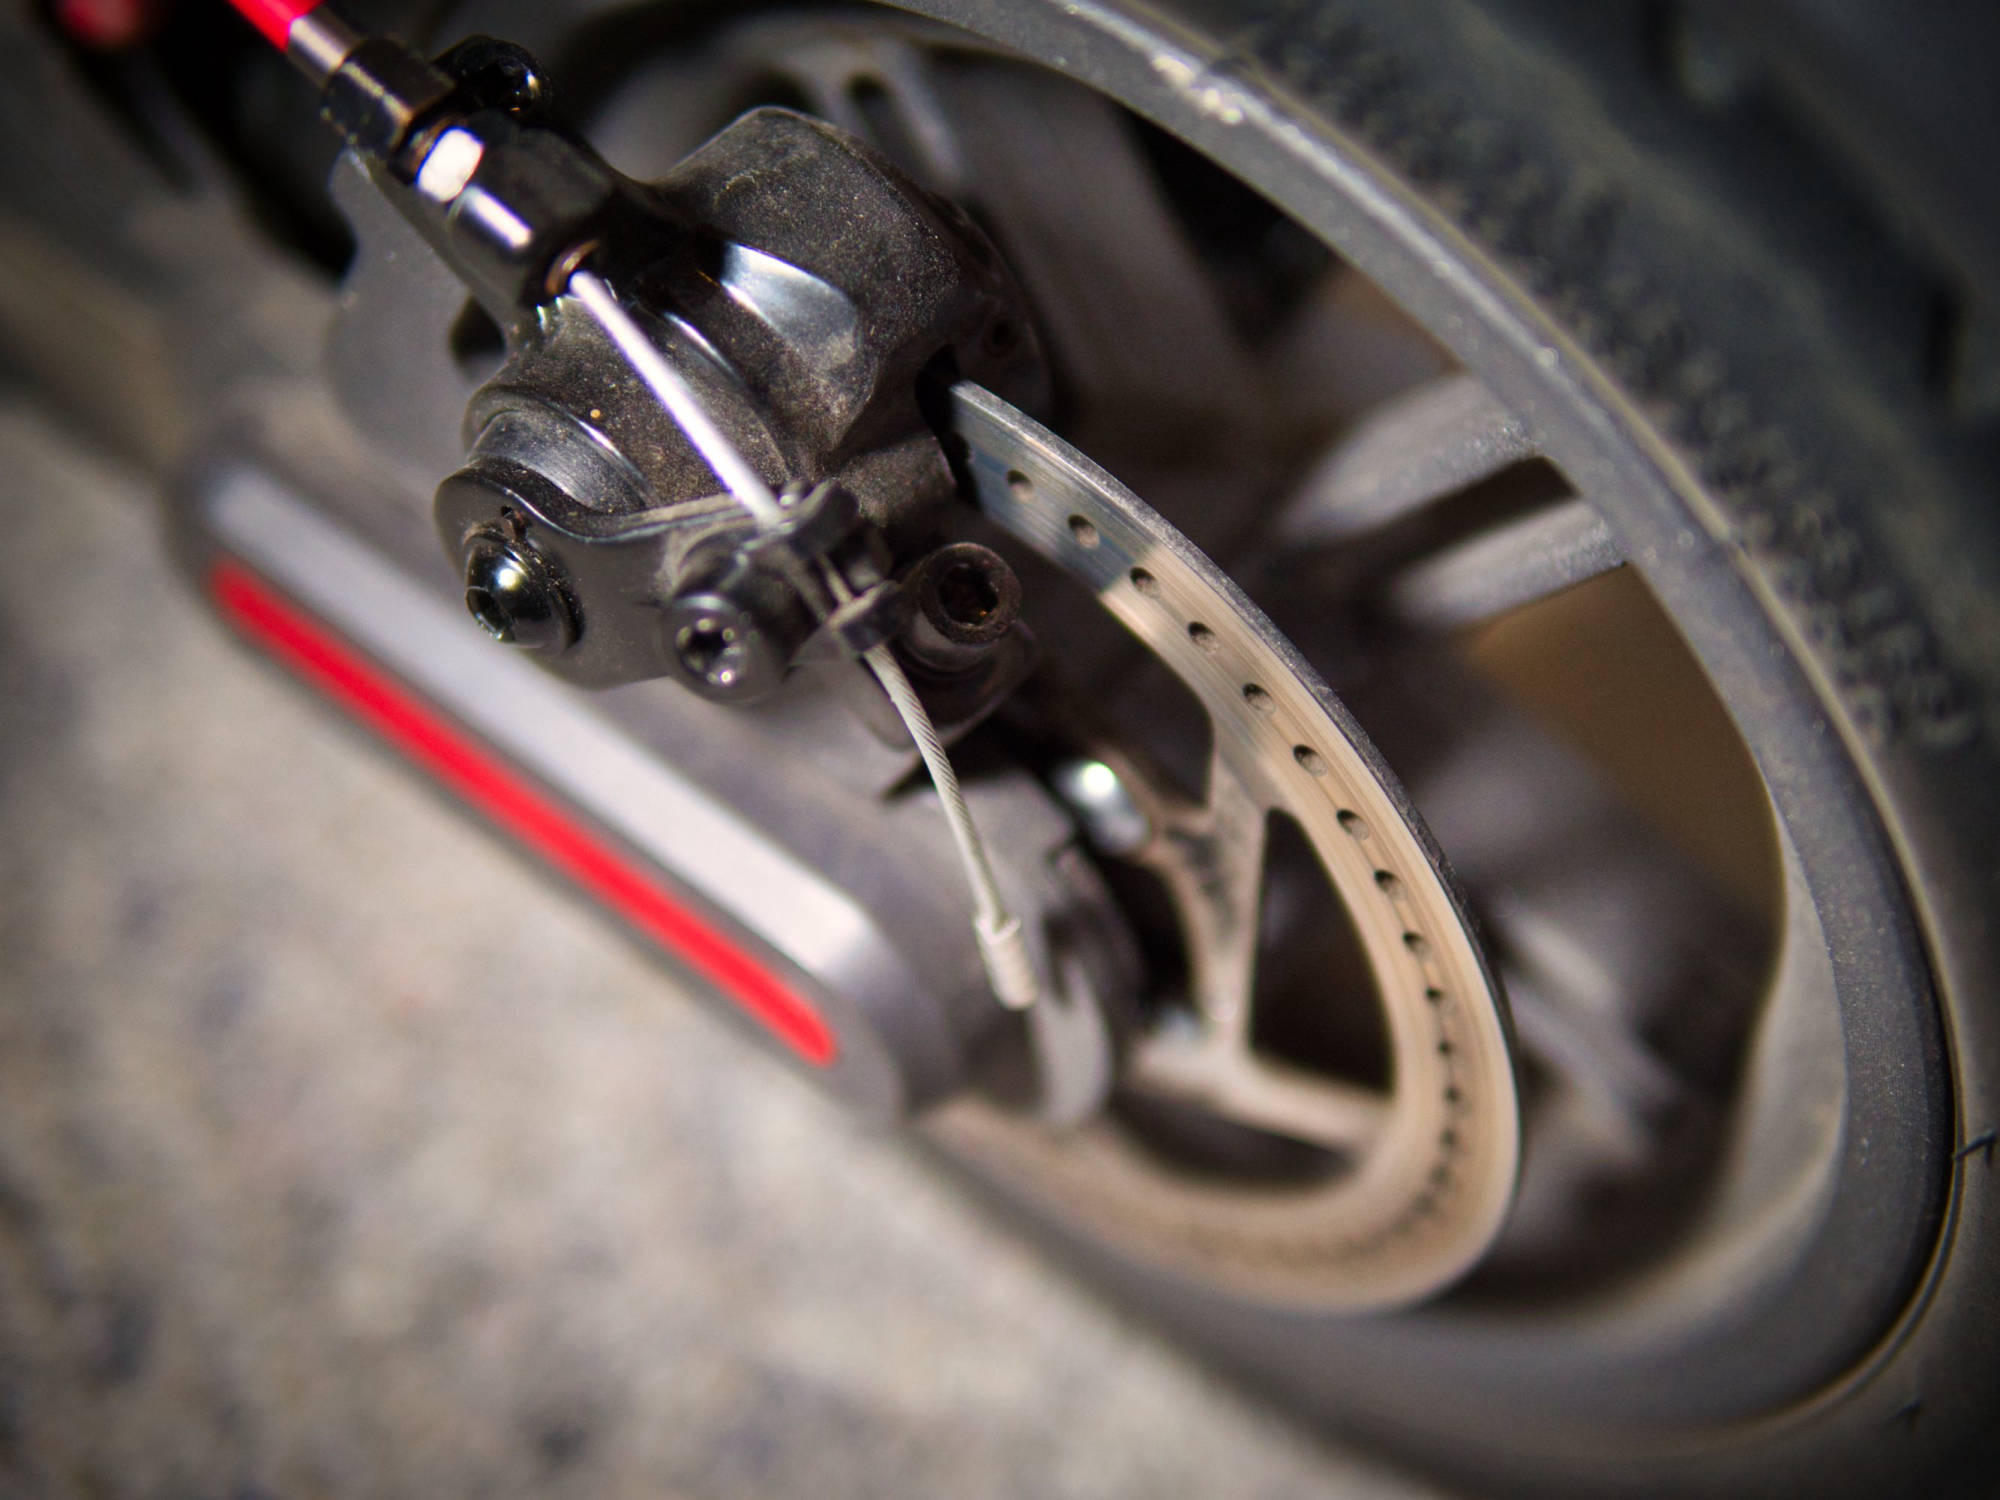
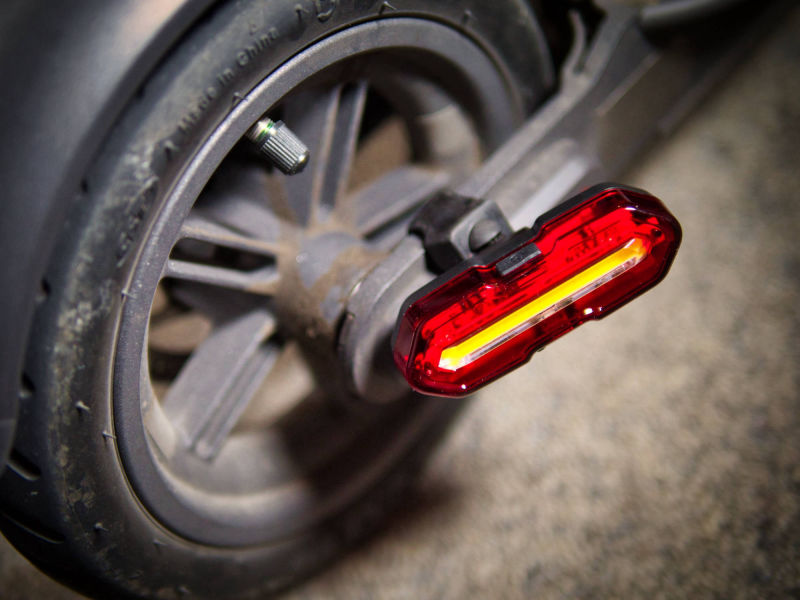
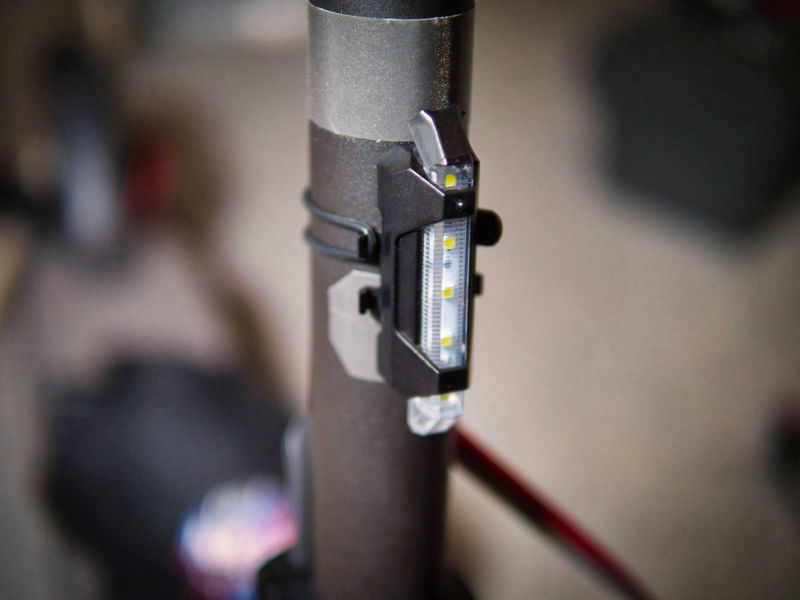
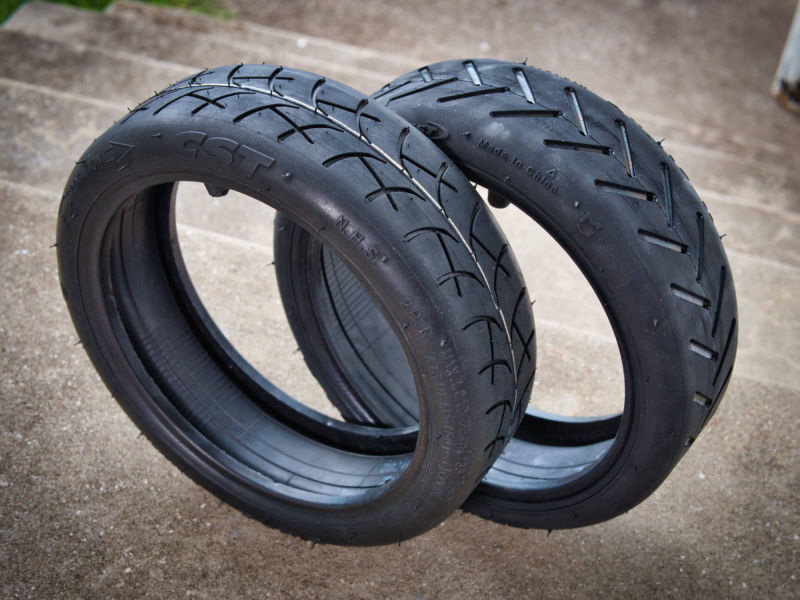
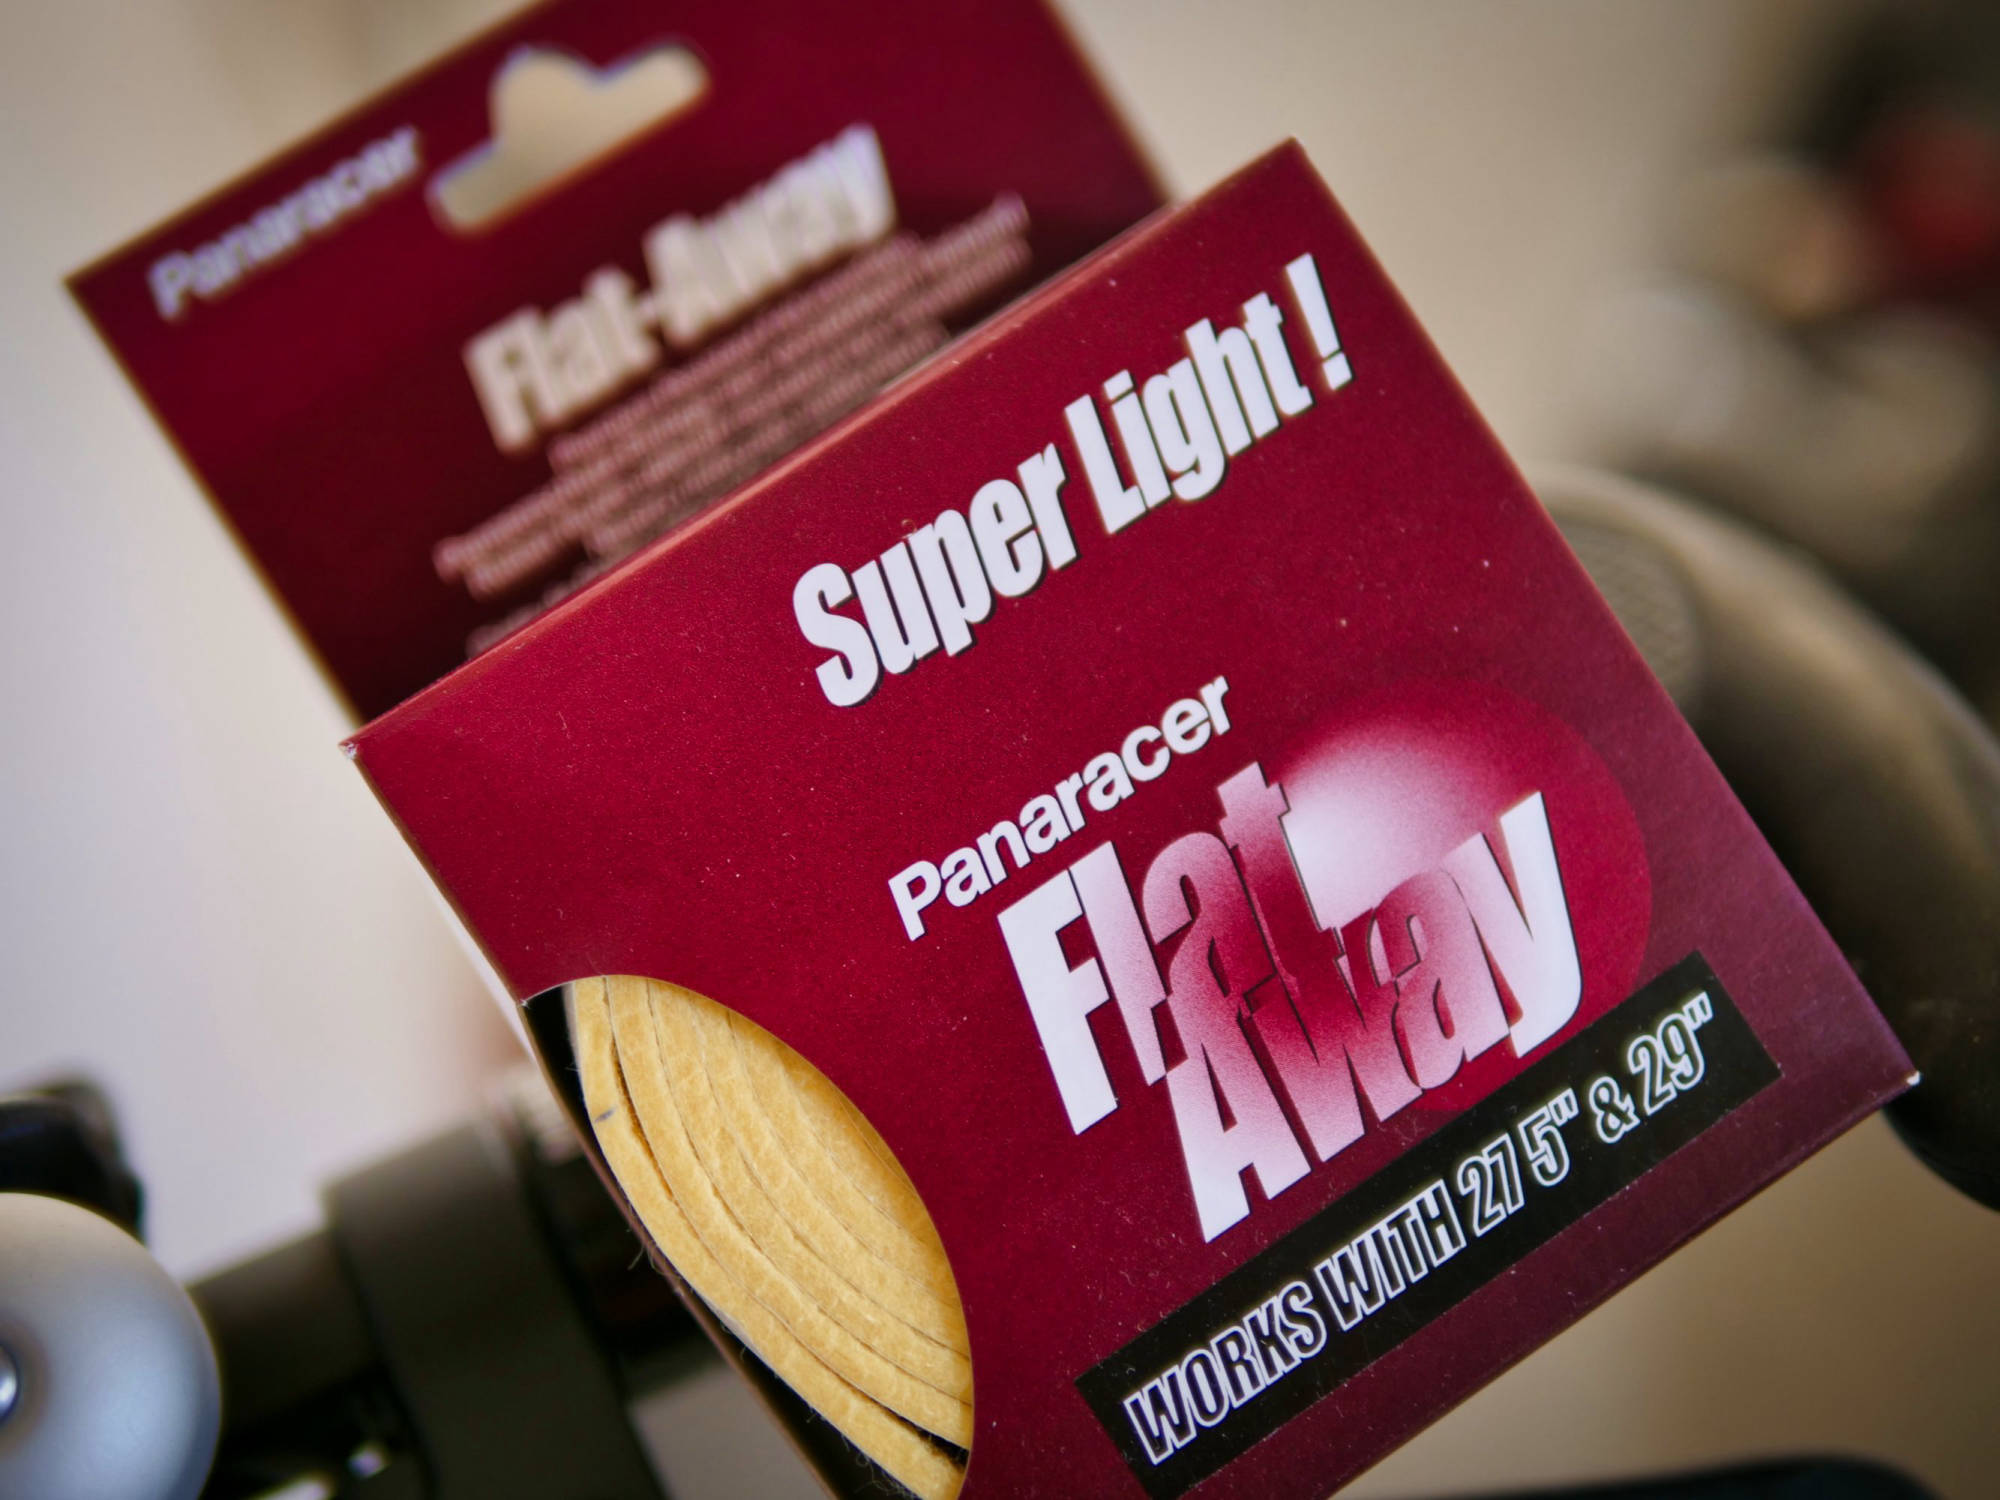
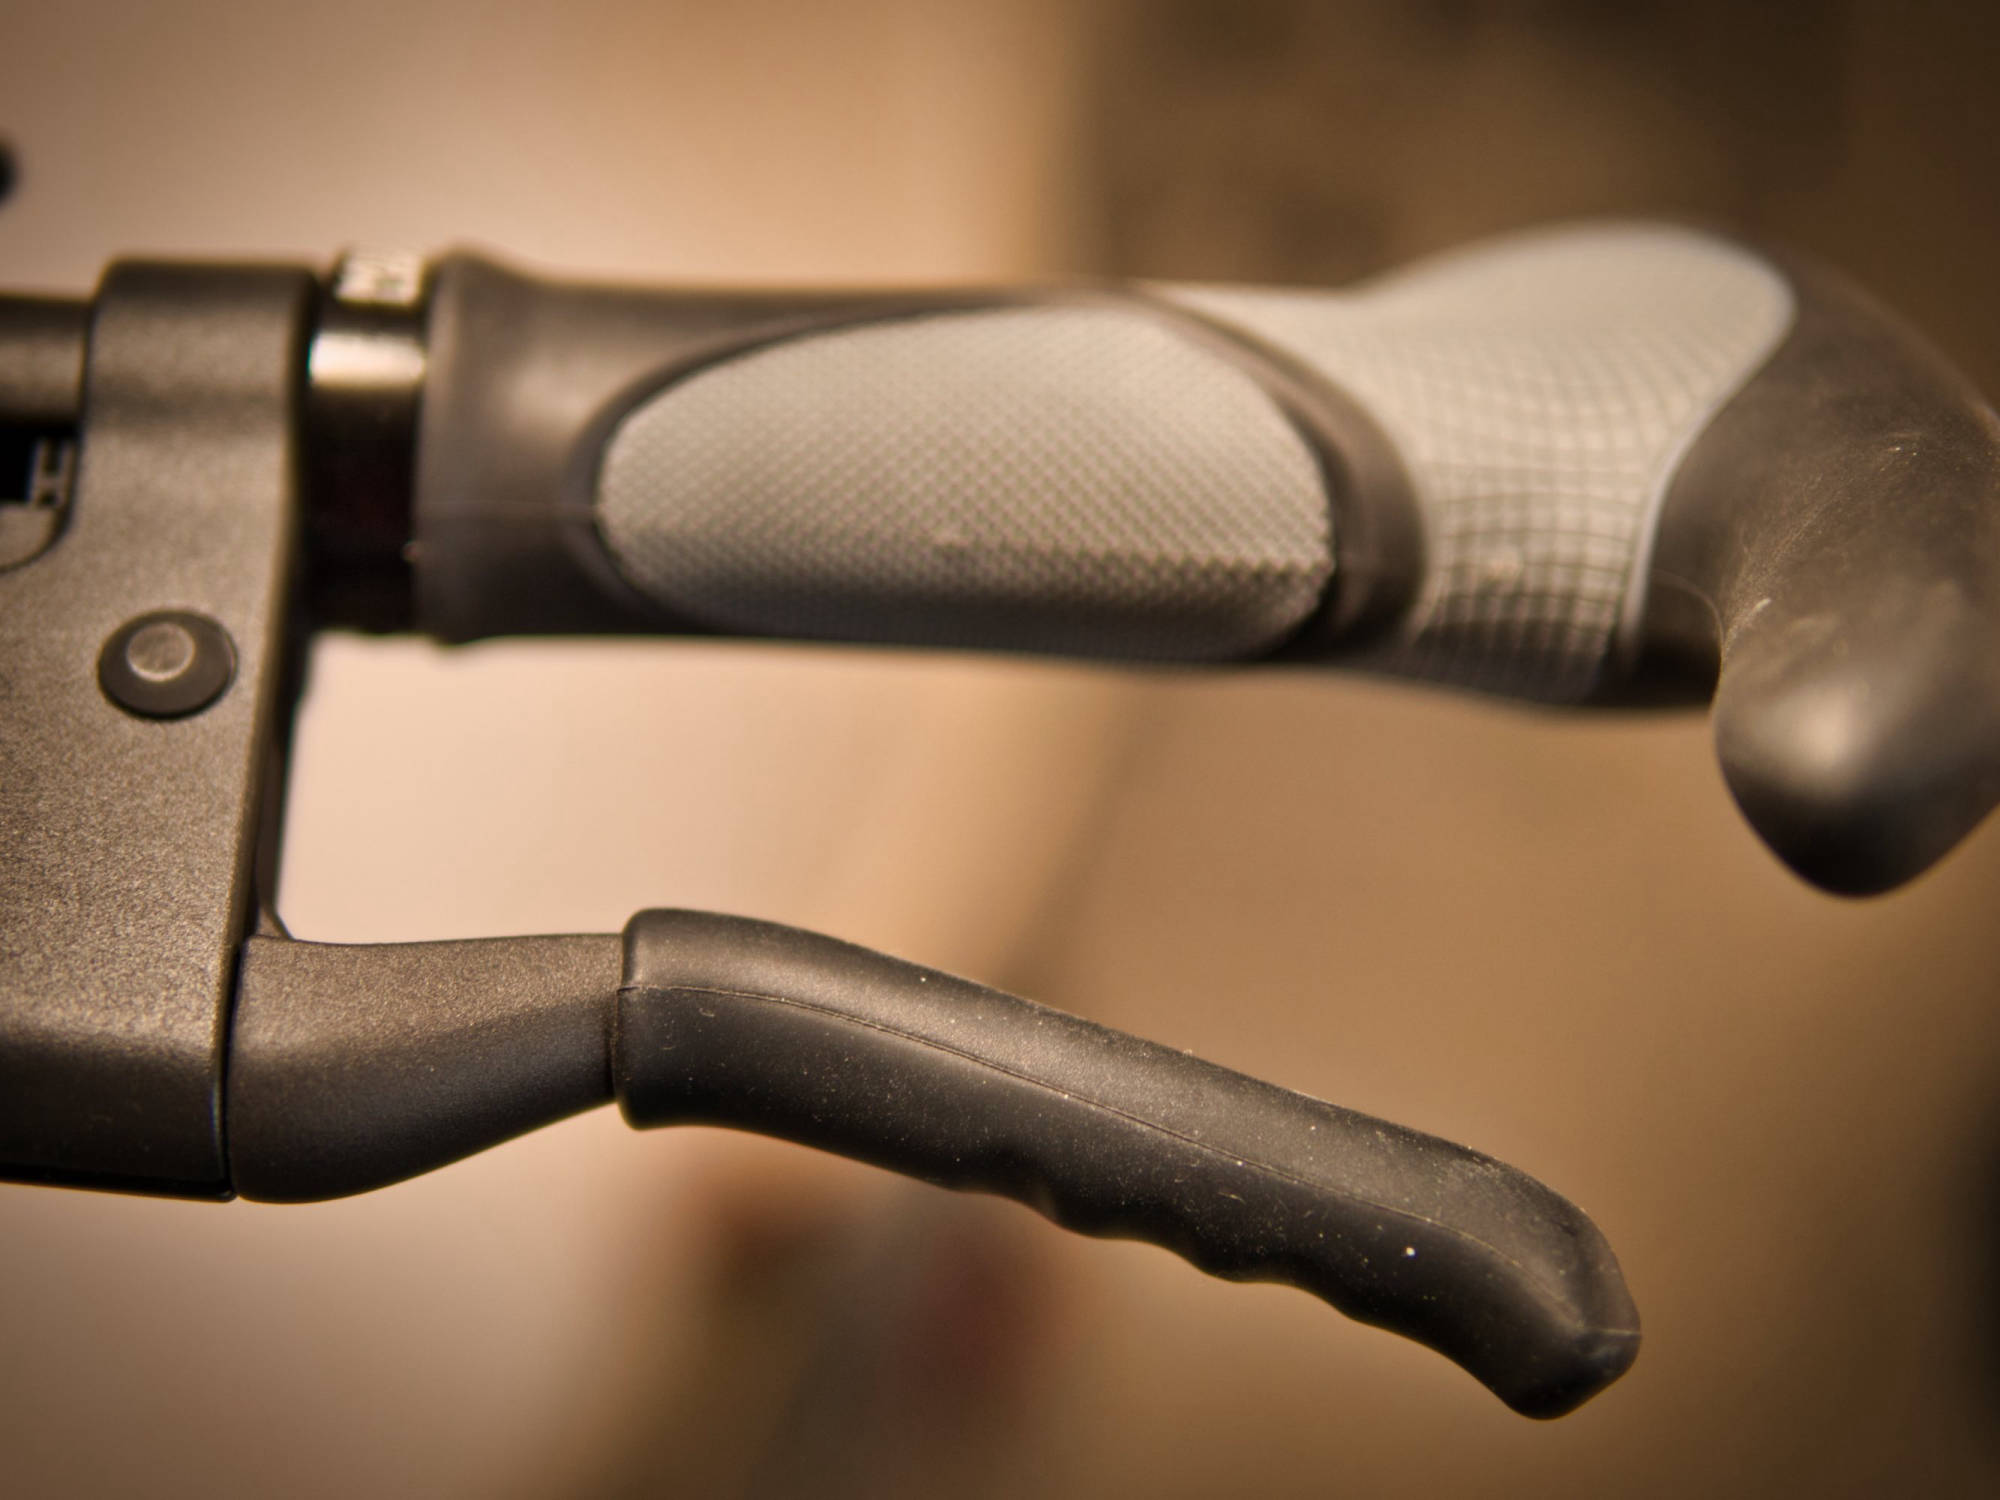
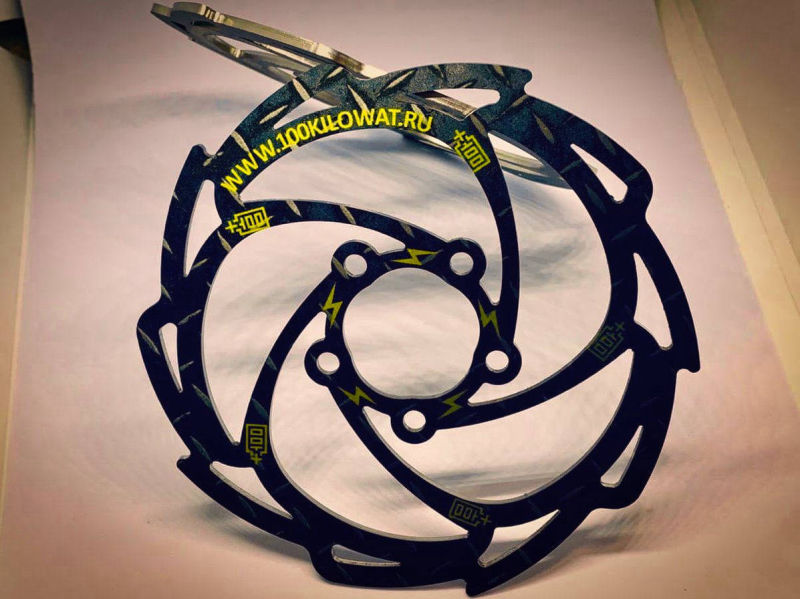
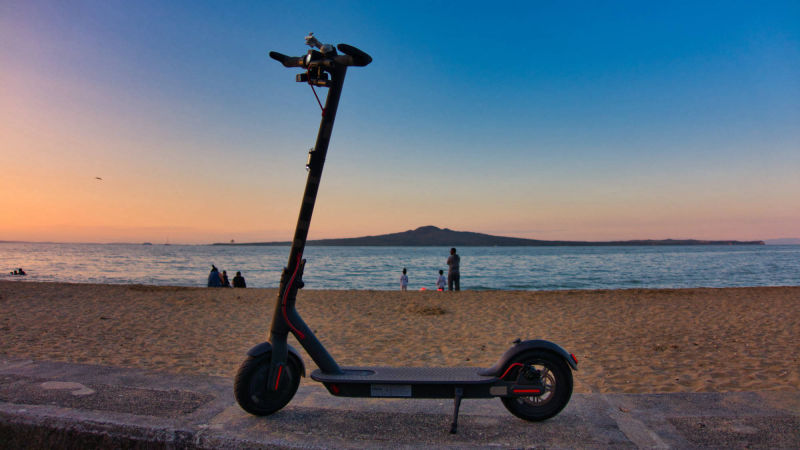
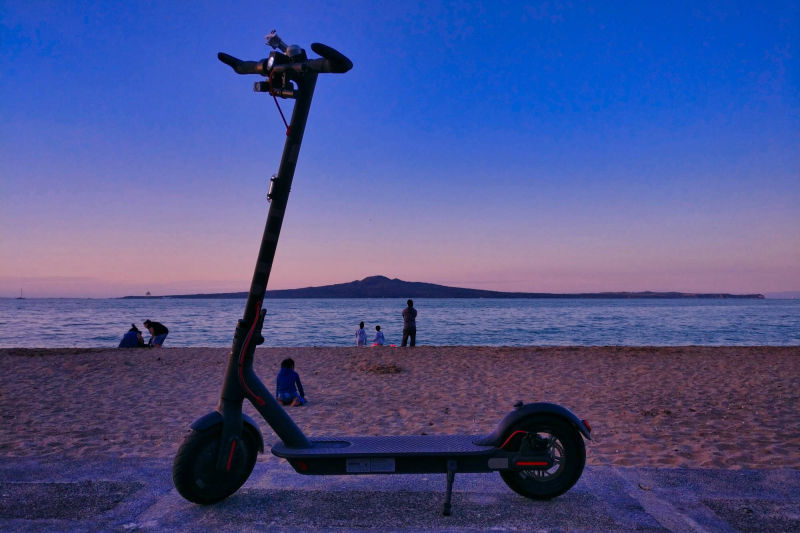
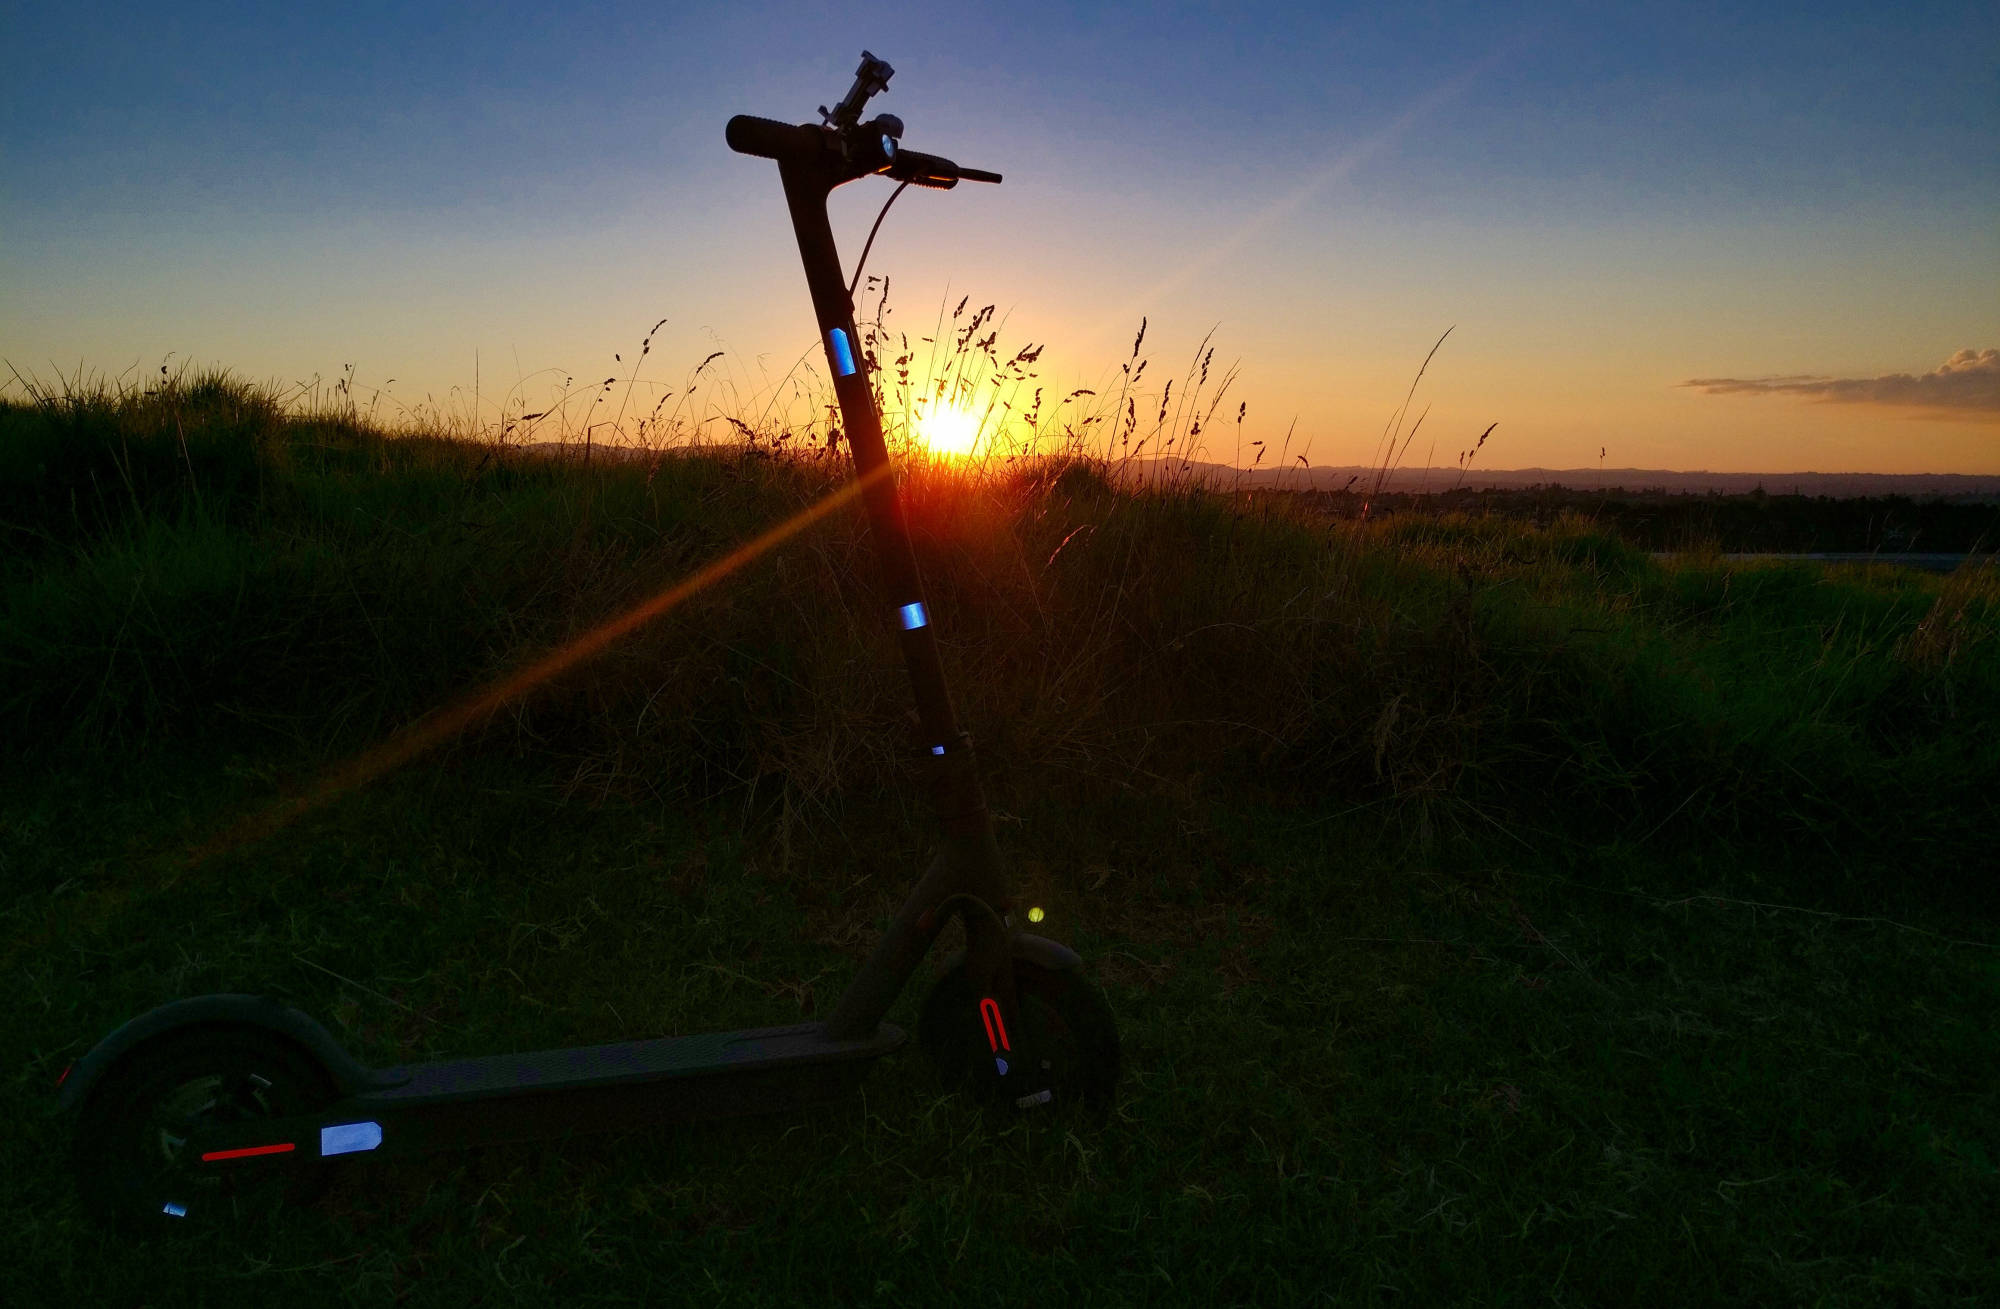
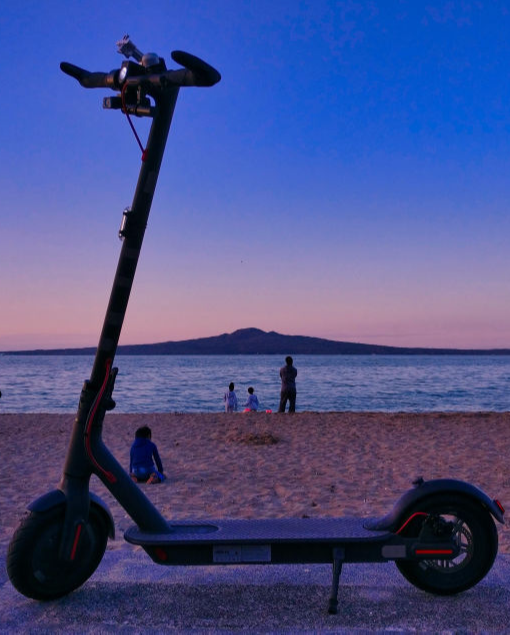
The m365 is an entry level scooter with the reliability to manage even 16km commutes. It's light weight and can be put in the back of your car easily by folding and helps out with that "last mile" connection to either your destination or public transport hub. The suspension is from the grippy air filled tires (rather bumpy if on course chip road though) and braking is from the front electric motor and the rear disc brake. There's a definate fun factor to using the scooter and there are enough small tweaks and upkeep to be as much or little of a hobby as you like. There are other options but generally a lot more expensive and a lot heavier. 

FLAVOURS
The Xiaomi company has also invested deeply in Ninebot which now owns Segway so there are many scooter variations with similar features and design. This really helps with modification, tinkering, and fixing as there is such a wealth of parts, after-market parts, and help available. For example, m365, m365 Pro, Segway ES2, HX X7, and lots of cheaper clones. Weight, price, range, suspension, wheel size and grip, and charge speed are all things that can be considered in any comparison. I expect the next few years to see huge advances in all of those. In May, 2019 there will be a pre-launch of the Ninebot Max and expected to land at PBTech (NZ) at the end of August. This is going to be a very interesting version of the M365 incorporating as stock many of the "upgrades" listed on this page. Something to look out for!

NZ RULES AND REGULATIONS

New Zealand laws for scooters are straight forward. The main points would be:

1) POWER - There is a power limit of 300W. That makes the Xiaomi scooters fully law compliant!

2) PATH & ROAD - Scooters are allowed on the footpath and the road. They must give way to pedestrians at all times and not be driven in a dangerous manner.

3) HELMET - Not required but recommended.

4) LIGHTS - No more than two white lights on the front, one can be flashing. Point them down at the road. Rear red lights are dimmer and you have to have (at least) one.

5) CYCLE LANES - Apparently only non-powered cycles are actually allowed in bycycle lanes that are on the side of the road. Anything else would require Parliament to make a new law which they have not gotten around to. My commentary would be that as the police (and everyone else) recognises the best place for scooters, skateboards, and electric cycles is not in the car lanes or on the footpath, the bike lanes will do fine in the meantime.


The only downside of fully discharging your battery while riding is that then you have to walk home.

Maintenance

Just like a bike, a scooter must have regular maintenance to keep it going and to keep you safe

  • BRAKES - Warning warning. If you can easily pull the handbrake lever to the grip with just two fingers then it needs adjustment! The front e-brake KERS seems to stop at 6km/h so if you have to stop at the bottom of the hill you better have the hand brake set right because it can be quite surprising to suddenly lose half your slowing power just when you really want it. Note - the brake lever activates both the rear mechanical break and the front motor brake. There is a graduated magnetic switch inside it along with the steel wire. 
    Tools needed: 4mm, 5mm Allen/hex keys. Two 8mm spanners. Pliers.
    Full Readjust, see photos:
    1 - Put a block under rear battery compartment so tire is lifted just off the floor/workbench 2 - Fold steering bar down so your brake lever is near the brake calliper
    3 - Loosen two caliper mounts so calliper is free to wobble (4mm hex)
    4 - Loosen the 2mm hex grub screw that locks the inner pad from turning. Tighten inner brake pad until a reasonable amount is showing inside the caliper space (5mm hex). 
    5 - Squeeze brake lever tight so wheel can't turn, then while it is like this tighten the two calliper mounts again. This is the only way to ensure the inner pad is flat to the disc surface. 
    6 - Release the lever. Also undo the course adjustment single 4mm hex screw holding the brake wire. The disc should still be grabbing on the inner pad. Undo inner pad 1/4 turn or until the tire is only just moving freely.
    7 - Lock the inner pad in place with the 2mm hex screw. 
    8 - Undo the 8mm lock nut on fine brake adjustment then unwind fully. Then wind in the fine adjustment 8mm nut fully. This is the start position for final adjustment. 
    9 - Final - Put tension on calliper spring arm and tighten the Course Adjustment hex (4mm). Try and get the tension so the disc is almost touching.
    10 - Last - Fine adjustment on the 8mm nut before locking it off with the lock nut. A very very small turn in the fine adjustment is all that is needed to go from the disc touching to not touching. You want it at the magic point where it is only just at the point of not touching. You test the brake lever throughout the process to check the grip and release.
  • Replacement round metal pads (no tab) are probably better than stock, sizing Clark's CMD5, CMD7 (21.4mm). 
  • TIRE PRESSURE & FLATS - As a result of tests, the Xiaomi engineers found out that under certain pressure in the wheels, it would be more difficult to pierce them. The recommended figures are as follows:
    At a load of 50-70kg: the front wheel is 35-40psi, the rear wheel is 40-50psi.
    At a load of 70-90kg: the front wheel is 40-45psi, the rear wheel is 45-55psi.
    At a load of 90-100kg: the front wheel is 45-50psi, the rear wheel is 50-60psi.
    At a load of more than 100 kg: it is recommended to pump up to 50-55psi front and 60-65psi rear, but careful driving is recommended. The risk of puncture increases with weight gain.
    However, many people choose to run them at 50-55psi regardless of load. They have "50psi" written on the sides but the information from Xiaomi supercedes that. Under inflating them will cause inner tube pinches and flat tires. Using valve stem extensions reduce the air loss when disconecting the tire pump. 
  • TIRE FITTING SERVICES Bike stores may change tires for you but you must phone ahead to see if they have the experience on small tire scooters and/or have their experienced person on site. Haslips Tyres in Mount Wellington, Auckland, changes tires (you supply the parts) for NZ$30. Freed PEV also replace tires ($59). Changing tires can be really hard without the correct technique! 10" are much easier to fit but you've still got to get the old one off. Order spares (10") or upgraded 10" early (Or uprated 8 1/2"). Note that changing to 10" will not be offered at these places mentioned. See Spare Tires and 10" Tires in the sections below. Pressure for 10" tires is 45 psi for 80kg.
  • CHANGING TIRE YOURSELF! - Watch this video first. Try the rear first for practise. Remove front tire from wire side. After removing, just squeze it and it can slip over wheel and off the other side. This protects the wire from being crushed. - The tube valve will stick. As you pull it out at 45 degrees lift the nipple side with a screwdriver so it doesn't stick to the plastic spacer. It should pop out. Drilling out the plastic spacer a bit will help get the valve back in. Great care must be taken to not scratch the inner wheel surface and make sharp bits for the tube. The spacer is meant to stop water getting in the wheel.  The main idea when moving tire on/off is have it pushed into the wheel groove on one side as you try to place it on the wheel on the other. The video by Elite Worm explains this point very well, indeed, he uses vice grips to make it even easier. At all times you should only have to lever over millimeters, no more! Here is a cool Chinese guy managing it. The new inner tube and tire are both directional. If you inflate the tube a bit you can see which side the valve is pointing towards. Make sure this matches where the valve hole is on the wheel. The new outer tire also has a direction. Double check the arrow on the tire is pointing in the right direction. With the right technique changing the tire is a breeze (apart from that valve sticking bit). 
  • BATTERY CARE - Charging - You don't have to wait for your battery to run out of juice to recharge it. These batteries do not have a memory so you can recharge it whenever you like. Let the Xiaomi charger run it's full charge cycle to green. This is important for balancing the cells. The scooter is also equiped with over-volt protection and will not allow the batteries to be damaged by over-charging. 
    If not using the scooter for days or weeks then consider going for a quick trip to take the battery down a bit. This will prolong the life of the battery and reduce the rate at which metals build up on the contacts inside the battery. "It is like your stomach, feeling full is not comfortable." - Wilkie 
    I use an extra battery so I can get 3 or 4 trips in before the battery is down to 50% and I recharge. This way the battery is not sitting at 100% most of the time and I don't have to play around with the charging port cover. If planning on a longer trip then I'll go ahead and recharge no mattery what the battery is sitting at. 
    Discharging - The only downside of fully discharging your battery while riding is that then you have to walk home. The Xiaomi scooter is equiped with under-volt battery protection and will turn off before the batteries get damaged by having low power. Just charge the scooter when you can. Leaving the batteries for some time in the completely discharged or completely charged state will negatively affect their life. Lithium ion batteries have a steady self-discharge rate so should recieve a charge every month to keep the voltage up (60% if not being used). The manufacturers of batteries test the number of times they can charge and discharge fully. This is how the batteries are designed to function so that you can go for a nice long ride and not worry about them. For a video on the topic you can watch this one from EBikeSchool.com, especially the second half.
  • LUBE & BOLTS - Again, one cannot leave maintenance checks forever. Bolts and screws need to be checked over time in case they loosen and a drop of bike oil into bearings. Don't get any oil on the disc brake. For a really impressive list of maintenance checks visit Rollerplasch.

Best Gadgets

Not all gadgets are created equal. My ideas on what's worth it, and what's not.

  • HELMET - Smart4U SH50 - I wear this helmet over a baseball cap. Don't lose the charging cable, it's magnetic. Also available in NZ at a decent price. The next step up from this would be a full face helmet of some kind. You can attach lights to any helmet but it's nice to have it already on there. 
  • HAND GRIPS - Meetlocks grips are the best upgrade/gadget you can and should get for your scooter. They make a huge difference to how nice the whole scooter experience is. Also see the upgrades section for "brake and bell" on swapping location and making angle to lever better!
  • PHONE HOLDER - These will drop your phone if you hit a bump. It's inevitable. The two I have tried are the standard holder from PBTech and the GUB holder. The GUB has a terrible single screw mounting system and does not hold the phone flat due to the long screws in the expanding section. It also rattles when phone not attached. For both holders the prongs are not long enough to keep the phone in control over a hard bump. You must use a rubber band! The 2p5mmx45mmx50mm O-rings here work well and are also good spares for attaching the smaller lights listed below. Another option is to use a Ulanzi holder with a super clamp or super clamp 2. But that's quite big and not particularly "elegant."
  • MAIN LIGHT - The one light I highly recommend for the front is the Cycloving floodlight that can also come with a nice bright rear light. Note that there are no lights on the cheap market that are particularly waterproof, especially around the usb charging port. Another option, untested, is the dual light cycloving model. These lights have a good colour, good heat dissapation to the case, and seem to use real Cree LEDs. Other brands of lights I have tested (eg. the dual Vastfire) use fake Crees with a blue tint, have heat problems, and are designed even better to catch water. Very bright though! And finally, if you want a very pretty chasing white LED for the front or use on flash mode, then you might want one or two of these. 
  • REAR LIGHTS - Without adding any additional mount, a battery powered red light (as mentioned above) can easily be attached to the right side rear of the scooter with the mounting O-ring rubber band. Spare 45x55mm O-rings here. It ends up pointing up and to the right a bit but that is where it needs to point anyway to point at following vehicles. I tend to push with my left foot so mounting a tail light on the left as well looks great but is more prone to being bumped. 
  • EXTRA MOUNT BAR - If you run out of mounting space at the front then do not get an extension bar that attaches to the horizontal handle bar. The mounting system they use is invariably terrible! If you really want more mounting space then get a children's handle that attaches to the vertical pole. It is annoying the rubber grip has "baby bike" ingraved on it though...
  • ELECTRIC HORN - Wow, this electric horn is loud! Lots of mounting options, especially if you have the extra mount bar. I am very impressed with this. 4 different and very annoying sounds you can set. 
  • BLING - There are some really cool sticker sets out there. This is the one I'm going for. It is also the set picked up by our local reseller, PBTech
  • REAR VIEW MIRROR - If you use the original hand grips the Tagvo mirrors work. If you use grips with mounting hole in end then this is one option I was testing but it really doesn't quite fit. Most hole mounts are looking for a 7/8" bar and the M365 not only has a reinforcing piece inside it but it's also not long enough inside the hand grips. So still looking for an answer there! Plus the metal they use for the expanding friction fit is pretty useless. 
  • FOAM LAYER - Some have suggested that a layer of yoga mat foam rubber is good for reducing battery vibration inside the battery compartment and increasing longevity of those components. A water proof seal to the cover would also be good. 
  • MUDGUARDS - A front mudguard extension can be helpful to direct mud and water away from the battery compartment. This particular one is rather annoying as it has casting plastic that stops it actually being able to mount without hacking it up. Another cheap option seems better. And finally, the high quality version from Vilda. For the rear mudguard I use black pastic cut from a ice cream container
  • VALVE STEM EXTENSION - It is easier to remove these without all the air escaping in the process. 
  • SUMMER GLOVES - Easy to put on and take off. Less important if you upgrade the hand grips but useful if you plan on taking a tumble. Good sizing chart for my Bruce Lee skinny hands. 
  • WINTER GLOVES - There are lots of gloves you can go for really. 
  • SPARE TIRES - The EU/Pacific version comes with two spare tires and tubes. If you really want an uprated 8 1/2 inch tire then these are the ones to get (usually has 9 inch tube which ends up being less thin and stretched under pressure). The tubes weigh the same but the uprated tire is 65g heavier at 393g or 20% more rubber. For most people 50-55 psi is needed. If you are plagued by punctures you might consider running a kevlar felt strip like Panaracer Flat Away between the tire and the tube, 10" tires are also an option - (upgraded version 10") listed below in the upgrades section. Pressure for those is 40-45 psi (ignore 35 stamped on tire). 
    The stock tires have the toughest steel rim on a low profile tire I have seen. It is highly recommended to not replace flats with the same stock tire type - that would be hard work! The 10" tires are a LOT easier to fit. 
  • SPARE CHARGER - Handy to have a spare charger at work if you commute. Keeping the battery over 50% keeps you in the power range. BTW, If you are not going to drive your scooter for a week or more then take a short trip to decrease the charge to 80%. Leaving the battery at 100% for extended periods will slightly increase the rate at which it decays in performance. If you unplug your charger as soon as it gets to the green light it will be about 4.1V per cell. Over the half hour or longer it will trickle charge up to 4.15. If you charge up to 4.1 instead of 4.2 then you double the number of charge cycles the batteries can do. But you lose 10% capacity each charge. So choose wisely ;) If you have a charger you can set to 4.1 then that's easiest. But 4.15 is fine too. Also see Fast Charge in the Upgrades section below. 
  • OTHER - A silicon sleve for the hand brake lever and the kick stand are nice. A drop of oil inside helps them slide on. A little puncture repair kit is handy if you get punctures. High reflective stickers. A really big air pump with meter that can fill your tires rather quickly. Maybe too big. A silicon damper is probably a good idea for putting in the folding joint. 

Upgrades

The main upgrades one can consider: Firmware, Tires, Battery.

  1. FIRMWARE - It is very easy to change some performance aspects in the firmware using a utility made for android phones. The extra power settings are great for flat ground. If you slow down going up a hill at high power you will start to cook your motor. The release version of the firmware generator is here. The BotoX setting (with kick speed at 4 and no voltage patch) seems great!. 
    Things to note would be that the slightly higher top speed ~30 km/h it allows is really only while the battery is in the full state. It drops back to the normal 26-27 km/h pretty quickly (2-3km).  The top speed is related to voltage supplied and the resistance of the motor. Basically, a higher top speed needs a different motor or a higher voltage battery. The main benefit of the firmware is better hill climbing ability . Note: don't use "Russian throttle" as it turns off the speed limits you set entirely! KERS (e-brake) is set to 40 and this really helps save the life of the motor. Stock firmware KERS cooks the motor constantly. Also, make sure to turn the e-brake to "Weak" via the app. 
    The latest beta firmware is another option. It is only recommended to try if you have an extra battery in parallel though. If you have the extra battery then the "mine" option without the voltage patch (BotoX uses a high V battery) is smoother and has more power than the other ones I've tried. THIS is my current firmware (using with extra battery only). If you are just starting out with no extra external battery then you can try this one
  2. 10" TIRES - Simply the best. If you think the ride is too harsh for whatever you are riding on then consider no longer, get 10" tires! Can purchase a set front/back with the different valve stem lengths (July 2020 upgraded versions now available). The front will fit on back but back won't fit on front. So better to just get two front wheel ones. Don't forget to use the discount if buying two. A much nicer ride quality due to riding on more air! Requires an extra kit to raise the rear fender and drop the kick stand. The tail light wire also needs shifting. Kit should include a different bolt to hold the front fender countersunk or perhaps flat. A fender support is highly recommended. I made one myself but you can also purchase online. Indeed, if you're in the UK it might be easier to get everything together from Damitri. Normal pressure seems to be around 45psi and if you're over 100kg then 50psi. You also need to move the wire to the rear brake light. Just needs one new hole drilled and some silicon sealant to plug the old one and around the new one. Don't need a connector but can loop a bit of wire under fender. Quite easy, don't overthink it. Photo below. Note: 1) The tires are directional! After the pain of removing the old ones, don't forget to check direction before installation. 2) The inner tube is also directional - inflate a bit and see which side the valve is pointing towards. 3) See the earlier section "Tire pressure and flats" to check removal process of original tires. It is technique! If they don't pop off then your are doing it wrong!
  3. EXTRA BATTERY - The M365 goes about 19km on a full charge at full power. Under 50% battery will also mean a noticable drop in power. So if you want to cruise for longer adding an extra battery may work for you, unless you go for a clone scooter with a better range built in but unknown quality and reliability.
    OPTION ONE - The simplest option is a 10S4P 10kAh battery (example only) you add in parallel to the existing battery. Laudation got the battery to me in NZ in just 12 days but have changed shipping policy since. Please note that battery suppliers are changing constantly! Look around for a good deal with lots of feedback/sales. Higher quality batteries are usually worth it... but does such a thing exist on Aliexpress? Currently getting about 30km of range now which suggests this "10kAh" battery is only 4kAh. The standard procedure is to place the second battery in parallel between the scooter battery system and the three phase stage of the motor controller, ie. connected to the main battery discharge cable. This requires a firmware flash to disable "charge mode". Charging will be via the normal scooter charger port only. You order a replacement Common Port 35/20A BMS, open the battery wrapping, and swap the the bms over (requires soldering). Instructions on where the wires go by Vruzend. This will allow you to have full bms protection for the new battery while charging and discharging. Then purchase a 4A charger and load a modified bms firmware (with the right app!)  to allow fast charging. See Fast Charging section below. 
    OPTION TWO is a variation where you build a 10S3P battery pack yourself by sourcing the best battery cells, spot welding them, and adding a common port BMS (25A). More expensive but quality cells, less weight, and you'd learn heaps or blow yourself up in the process.
    OPTION THREE - The best engineered option if you're building your own is to go all the way and build a 12S4P custom battery and use a custom 30A BMS (on AliEx) and replace the stock battery unit. It would need programming. Read the indepth writeup from BotoX (creator of the firmware page). This gives a more weather sealed solution, higher top speed, longer travel than stock, and 5A fast charging option. It needs a 3D printed spacer for the bottom to make more space. 
  4. FOLDING LOCK - There is a hook/lock which tightens at the folding joint. You can test to see what it is made of with a magnet. If it is magnetic then it is (hopefully better) steel. If it is not magnetic then it is very prone to breaking and should be replaced! There is also a joint pin that can be replaced with a higher spec steel version. I am not sure when Xiaomi started using an uprated version but the Dec 2018 units from PB seem to be ok. 
  5. REAR FENDER SUPPORT - This can be bought online or made simply enough from 20x1.6mm aluminium strap from your local hardware store. Wrapped in your favourite colour heat shrink wrap it will look great. Also needs flat head screws or washers to hold under rear light mount and 3D spacer that gives room to attach on sides of wheel.
    Without fender support you can cover the wire inside the fender with a layer of hot glue to protect from rubbing. 
  6. REAR LIGHT HOLDER - This is only if you have installed the rear fender support; a short piece of aluminium can be bent and screwed to the fender in a good location above the existing light. A rechargable red flashing light can then be added. 
  7. BRAKE DISC - The M365Pro comes with a larger brake disc as standard. It can replace the M365 disc and offers better stopping power by virtue of more disc surface contacting the brake pads. There are also after-market brake discs from places like 100kilowat.ru or £25 from the ESS in the UK (plus shipping, plus paypal fees). There is nothing better. The stock disc is 110mm while this beast is 132mm! Comes with all parts required.
    Brakes involve sliding friction, changing moving energy into heat via friction - a lot of heat. If you lock them up they are not working as brakes! The better the brakes the more moving energy they can convert and dissipate without locking or overheating. 
  8. SWAP BRAKE & BELL - Love this one! You should only need a couple of fingers to pull the brake lever but in the normal position it is very awkward. Much easier to reach it if you swap it's location with the bell! Mihai has a video about this. You don't need a dremel to trim the plastic clip, wire cutters are fine. A craft knife shortens the rubber bung easily. If you have Meetlocks grips then you don't need to cut the inside end of the handles. Set and readjust the brake afterward. Note that you lose the free mounting space on that side of the stem with this move. 
  9. M365 PRO DASHBOARD - If you want the dash to show you speed then swapping to the Pro dash and using Pro firmware works. The video from Pirate shows the whole process to get the Pro Dash up and running on a normal m365. Before changing display, with original display connected you should flash 1,55 with downG, after that, turn off, and assemble new display. 
  10. BERRY BOARD - UK based shop selling wide foot boards that easily attach to scooter for £50-60 and £21 tracked courier to NZ, Gives enough room for both feet next to each other and acts as a little bit of a suspension layer, possibly reducing road vibration to your feet. The main thing is being able to stand and relax how you like with no fear of slipping off the side. Definate improvement over not having the board. Pics below.
  11. FAST CHARGE - You can go up to a maximum of 4A, up from the stock 1.7A, Basically, if you go with a 2.49A charger it will work with no other changes. If you plan on using a silent adjustable 4A charger you might choose to open the scooter and upgrade the wires and white sockets by the charging port which are a little thin. At 3.8A they did not change temperature at all so I have not upgraded them. Charging to just 4.1V per cell instead of 4.2V is also recommended to double the life of batteries while decreasing your storage per charge by only about 5-10%. This Wate 4A charger is an option. It has two screws inside, one adjusts voltage and the other current. I ended up getting the 5A version which I tuned down to 3.8A. The Wate models have a fan and are far superior to the default charger. NOTE: To go over the stock 2.5A limit you need to flash the BMS firmware with both the right program (v7_PATCHED_BMS.apk) and the right 5A modified firmware (BMS115_CHG5A.zip). You can search for those files on the Telegram group: Xiaomi M365 Hacking or facebook/email me. The new chargers will need you to either cut the plug of the old charger or buy a new adaptor plug (that goes in the scooter). 
  12. ESC V3.0 Controller Uprated controller that sits in the battery compartment is meant to have reinforced tracks and better voltage and current control for less burnt out controllers. 

Handy Links

Some of the many helpful places one can find on the interweb with information about the M365.

  • ROLLERPLAUSCH (web) - The ultimate source of info about maintaining, adjusting, and modifying the M365 scoote and other electric vehicles. They've put a huge effort into their site and sharing their wisdom with the community. 
  • XIAOMI M365 ELECTRIC SCOOTER (FB) - Over 25,000 international riders at last count in Facebook group. 
  • ELECTRIC RIDERS NZ (FB) - Collection of eclectic EV riders
  • Xiaomi M365 New Zealand (NZ) (FB) - Kiwi M365 Riders
  • Electric Scooter Service Corner UK (FB) - London based repair and supply guy Dimitri Gorodecki. Ships internationally and has everything mentioned (and more) in the Upgrades section. Very friendly, knowledgable and trustworthy.
  • BEN FOX (YT) - London based YouTube celebrity and scooter aficionado 
  • Pirate (YT) - Battery and firmware modding the M365 Pro and other EVs. Also see his FB group for discussing technical things. And finally the Pirate Website!
  • Xiaomi m365 Hacking (Telegram) - Home of David BotoX. Ultimate info on serious upgrading and modifications like 12s4p bms. Top programming, electronics, and hardware discussion. Easy to search telegram chat. 

Always ride with your lights on, day and night.
Without them you are invisible to pedestrians and traffic. They just don't see you.

Buying Original

Some ideas on where to buy authentic scooters and how to avoid fakes

Spotting Fakes:
Box does not mention Xiaomi, only "e-scooter"
Manual broken English, no mention of Xiaomi
Fake scooter has a distinct weld mark where the main pole connects to the diagonal strut
Official app does not work with it
Cable going to motor not grey
No serial numbers or marks identifying as Xiaomi

LINKS FOR BUYING NZ

PB Tech goes as low as $600 when on sale. The white version is on sale more often.

MI STORE NZ - Located in Sylvia Park Shopping Centre

KiwiHoverboard goes as low as $700 for an uprated ES2 version X7 (see electricridersnz on FB for discount code). Fast charge, suspension, real tires. Great deal if it is on sale, with one BIG drawback though, the battery is only 6.4Ah vs the 7.8Ah in the Xiaomi. 18% less is a big deal if you are near 70kg. For kids and light people it rocks.

LINKS FOR BUYING UK 

Purescooters

Amazon

Local Trip Ideas

The course chip roads are best avoided. Where else can one travel?

Onehunga to Mangere - While the coastal boardwalk to the north has to be avoided due to the bumpy boards, to the south you can go over the bridge and around the coast. Very narrow path most of the way but basically unending, you can go as far as you like.

Roskill to Point Chev Bike Path - A smooth 25 min bike path north to the rollerpark at the Point Chev interchange. A northern route takes you through a beautiful series of parks starting near the corner of May Rd and Memorial Rd going through to the motorway overbridge at Hendon Park.

Tamaki Drv to Mission Bay - A sort of ok surface around by the waterfront. Usually clear lane for scooters but beware that car doors open onto it. Middle to slow speed. 

Maraitai to Beachlands Path - Just 6km each way. Some ups and downs from cliff hight to water level so the boosted firmware handy. Some short sections of gravel path. Past mangroves, sports fields, Pohutakawa, and wharves. 

Orewa Estuary Path - Out of Auckland a ways, but another nice waterfront experience

Kerswill Pl to Pigeon Mountain - Rotary Walk in Pakuranga, along the water front.

Bike Auckland has a useful page of info collecting nice places to visit and how to navigate the streets in Auckland

Photo Album

© Copyright 2019 Trevor Mander - All Rights Reserved